Cart
0
Simple Gluten-Free Oat & Millet Bread (No Gums, No Fuss)
When I started baking gluten-free bread, I had no idea how much patience and testing it would take to get it right.
Years later, those lessons became the foundation for my Oh My Loaf flour mixes — crafted to make wholesome, gluten-free baking effortless for everyone.
But I also know that some of you love the process of creating from scratch — experimenting, tweaking, and learning as you go.
This recipe is for you. It’s a simple, beginner-friendly loaf that captures the spirit of homemade baking. No special tools, no complex techniques — just real ingredients, a mixing bowl, and your oven.
So roll up your sleeves, preheat that oven, and let’s bake something honest and nourishing together.
There’s something magical about baking bread — the aroma that fills the kitchen, the sound of the crust cracking as it cools, the anticipation of that first slice.
But if you’ve tried gluten-free baking, you know it doesn’t always start that way.
Many people join our community saying the same thing:
“My gluten-free loaves crumble.”
“They’re too dense.”
“They taste nothing like real bread.”
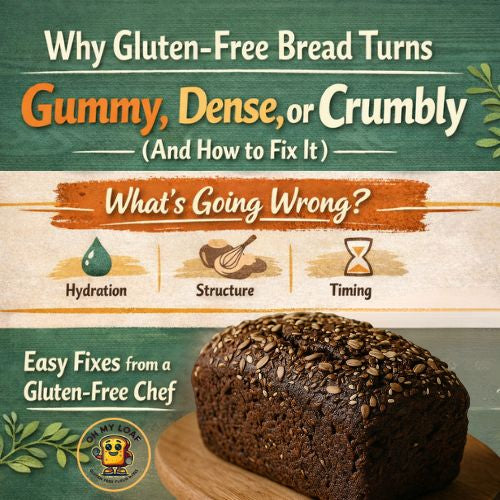
And I get it. Gluten-free baking can feel like a science experiment. It took me years to understand how the different flours work together — one adds strength, another flavor, another softness.
That’s why I always tell new bakers: don’t try to chase perfection on your first loaf; chase understanding.
The Foundation of Every Great Loaf
Gluten-free bread doesn’t need to be complicated. What it needs is balance.
A good loaf should nourish your body, hold together when you slice it, and taste like something you actually want to eat every day.
I prefer to keep things wholesome and gum-free — no additives, no strange binders. Just real ingredients that you can find in your pantry or your favorite natural food store.
If you understand just three building blocks, you’re already halfway there:
Structure flours – like brown rice or sorghum; they give the bread its backbone.
Softness flours – like oat or millet; they add tenderness and flavor.
Binders – like flaxseed meal or psyllium; they help hold moisture and create chewiness.
Starches – such as tapioca, arrowroot, or potato starch; they lighten the crumb, help hold moisture, and give your bread that slight springiness most people miss in gluten-free loaves.
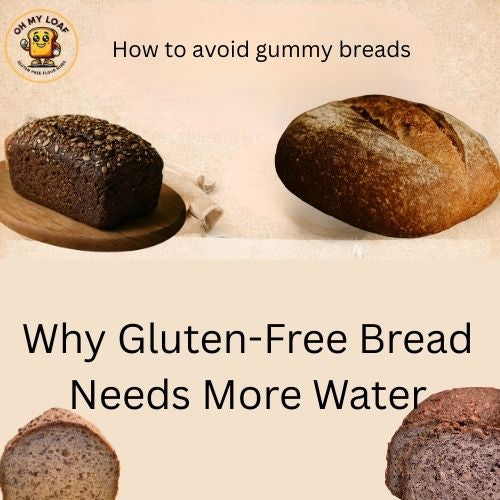
And then, of course, there’s hydration.
This is where most people go wrong — gluten-free batters need a lot more water than wheat doughs. The right hydration gives you that moist, even crumb that doesn’t fall apart.

Learning Through Simplicity
When I created my Oh My Loaf mixes, my goal was to make this balance effortless — just Pour, Mix, and Bake. But I also believe in helping people understand the “why” behind good bread.
So, I decided to share a very basic, entry-level recipe for those who want to experiment at home.
It’s not one of my signature formulas — but it’s the perfect way to experience how gluten-free flours work together and what hydration feels like when it’s just right.
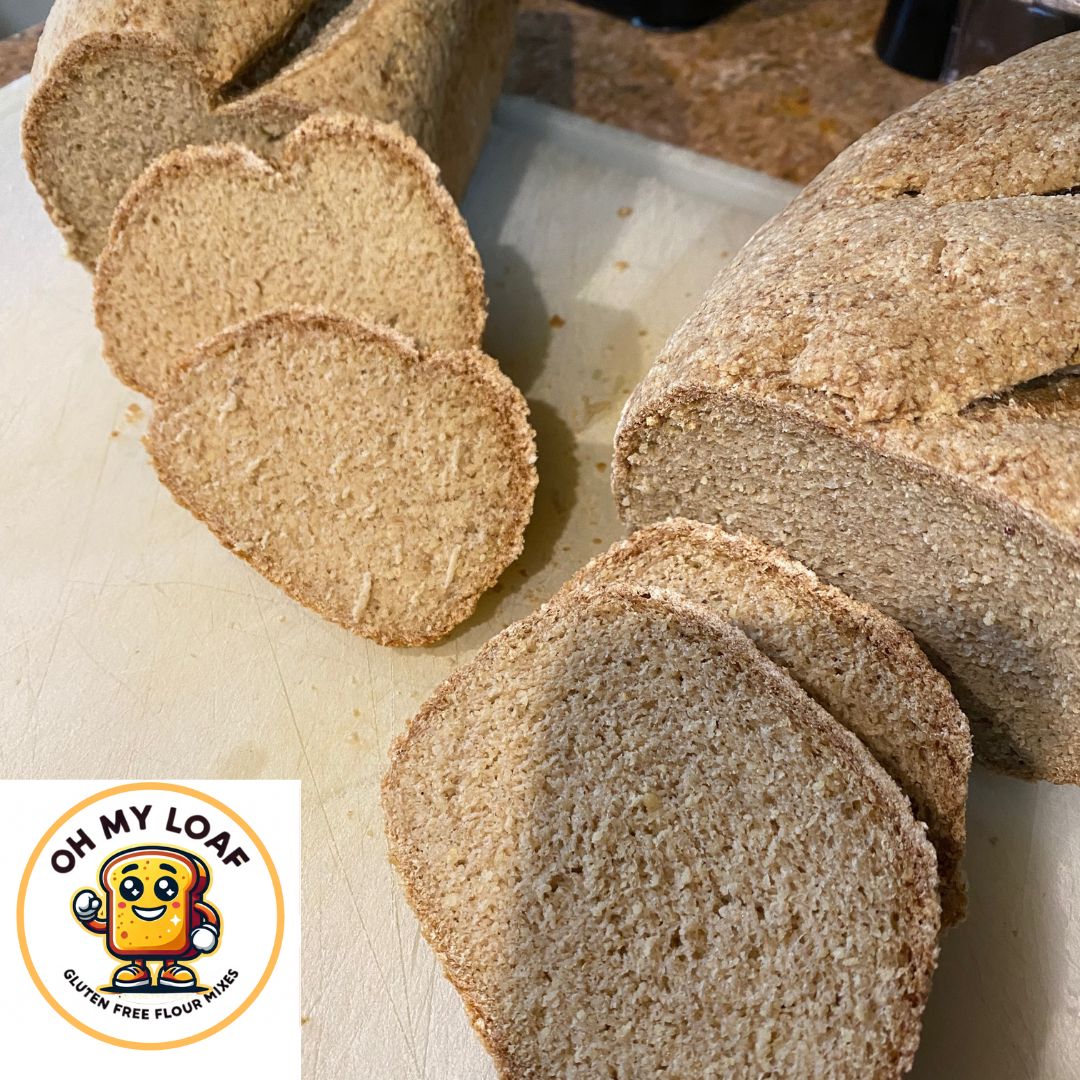
A Bread You Can Actually Make Today
This recipe is gentle, forgiving, and delicious.
You don’t need a mixer or fancy tools — just a bowl, a spoon, and a little curiosity.
Here’s the recipe you’ve been waiting for 👇
🌾 Simple Gluten-Free Oat & Millet Bread Recipe
Ingredients
-
1 cup gluten-free oat flour
-
1 cup brown rice flour
-
¾ cup millet flour
-
½ cup tapioca starch (or arrowroot starch)
- 1 tsp salt, less if desired
-
2 tsp baking powder
- 2.5 tbsp whole psyllium husk
-
2¾ – 3 cups warm water (start with 2¾; add more if needed)
-
2 tsp apple cider vinegar
-
Optional: 2 tbsp sunflower or pumpkin seeds for texture
Instructions
Preheat oven to 425°F (220°C) and line a loaf pan with parchment paper.
Mix all dry ingredients in a large bowl except the whole psyllium husk.
In another bowl, whisk together water, whole psyllium husk, and apple cider vinegar. Let it stand for 10 minutes.
Combine wet and dry ingredients and stir until you have a soft, pliable dough.
Shape the dough so it fits into the baking pan, smooth the top, and bake for 55–60 minutes until golden. If the batter is wet, bake the loaf 10-15 minutes longer.
Cool completely before slicing.
Chef’s Tip
Gluten-free doughs love water — don’t be afraid of a wetter batter. It’s the secret to a tender, moist loaf that holds together beautifully. However, the more water you add the longer the baking time.
Final Thoughts
Every time you bake, you learn something new — about texture, patience, and how ingredients come alive when treated with respect.
This recipe keeps things intentionally simple.
We haven’t introduced any technical bread-making methods like kneading, folding, or fermenting — those will come in a separate post where we’ll explore how advanced gluten-free techniques can take your loaves to the next level.
For now, just enjoy the process — and that first warm slice you made entirely on your own.
If you fall in love with baking this way (and I think you will), you’ll understand why I created Oh My Loaf — to make wholesome, delicious bread accessible to everyone, without the trial and error.
💛 Ready to Skip the Guesswork?
If you’d rather enjoy the perfect loaf every time, our Oh My Loaf mixes are handcrafted for balance, flavor, and ease — just Pour, Mix, and Bake.
👉 Join the Waitlist Here and be the first to know when our next batch is ready.